준비물
구석구석에 두었던 부품들 모았다. Kit = Makeblock XY-plotter kit
- 스텝모터 - Kit.42BYG Stepper Motor
- 스텝모터드라이버 - Kit.Me Stepper Driver V1.0 (include Polulu A4988 motor driver)
https://www.makerguides.com/a4988-stepper-motor-driver-arduino-tutorial/
How to control a stepper motor with A4988 driver and Arduino
How to control a stepper motor with A4988 driver and Arduino
잘 설명된 사이트.

Set microstep resolution
| MS1 | MS2 | MS3 | Microstep resolution |
| Low | Low | Low | Full step |
| High | Low | Low | 1/2 step |
| Low | High | Low | 1/4 step |
| High | High | Low | 1/8 step |
| High | High | High | 1/16 step |
- 아두이노 우노 - Kit.Makeblock Orion board 을 대체
- 점퍼 배선 - Kit.6P6C RJ25 Cable 을 대체
- 사각커넥터(암, 2.54mm) - 스텝모터드라이버에 납땜 부착. Kit.6P6C RJ25 connector 를 대체
Kit.Me Stepper Driver V1.0

DIP switch setting
마이크로스텝 해상도 설정 딥 스위치
| 1 | 2 | 3 | Microstep resolution |
| Low | Low | Low | Full step |
| High | Low | Low | 1/2 step |
| Low | High | Low | 1/4 step |
| High | High | Low | 1/8 step |
| High | High | High | 1/16 step |
Arduino UNO board vs. Makeblock Orion board
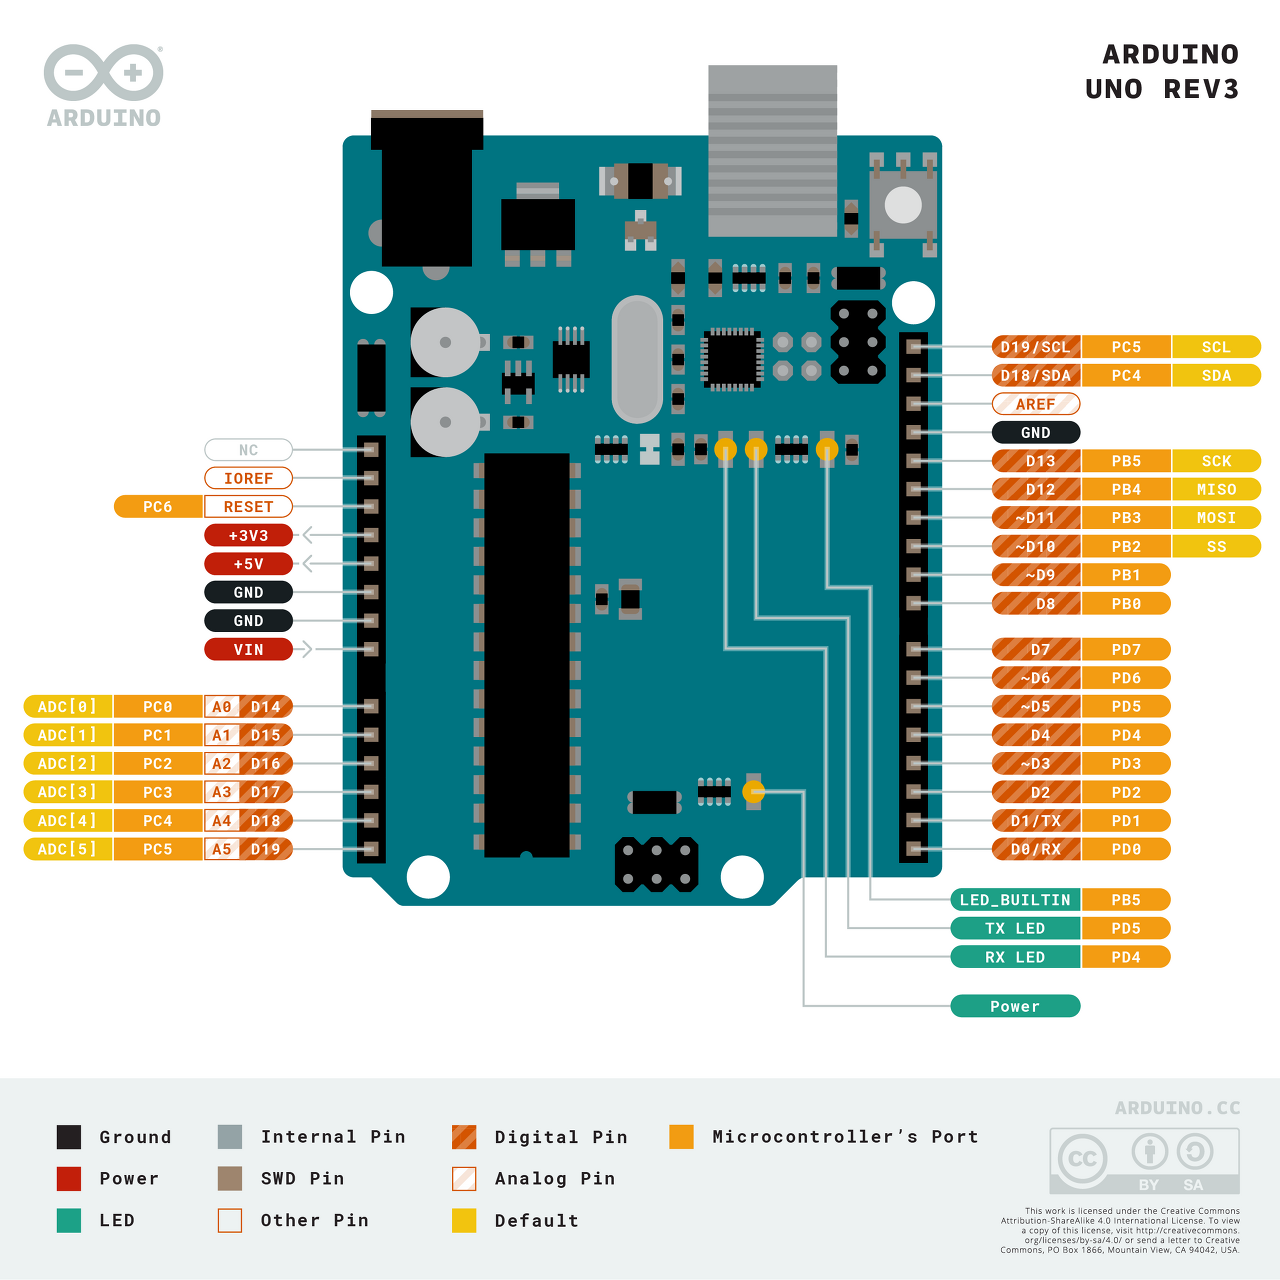
Arduino UNO
소스: https://store.arduino.cc/products/arduino-uno-rev3/ Arduino Uno Rev3

Makeblock Orion
https://erik-engheim.medium.com/makeblock-orion-a-friendly-arduino-uno-alternative-22322da43f32 Makeblock Orion, a friendly Arduino UNO Alternative

연결
- Driver.V-M - Adapter12V(+)
- Driver.GND - Adapter12V(-)
- Driver.GND - UNO.GND
- Driver.DIR - UNO.4
- Driver.STP - UNO.~3
- Driver.EN - UNO.2
- Driver.RESET - Driver.SLP
- Driver.1A - StepMotor.GreenWire
- Driver.1B - StepMotor.BlackWire
- Driver.2A - StepMotor.RedWire
- Driver.2B - StepMotor.BlueWire
스케치
스텝모터를 동작을 테스트하는 간단한 스케치를 작성한다.
/*
 * modified from
 *   https://howtomechatronics.com/tutorials/arduino
 *   /how-to-control-stepper-motor-with-a4988-driver-and-arduino/
 *
 */

#include <Stepper.h>

// Stepper stepper(steps, pin1, pin2, pin3, pin4);
//  to create an instance of the Stepper class for a stepper motor
//  Parameters:
//    steps, the number o steps in one revolution of your motor
//    pin1
// change this to the number of steps on your motor

#define pinEnable 2  // activation of driver
#define pinStep 3  // ~pin signal step
#define pinDir 4  // direction

int i;
int baseRevStep = 200;
int stepResolution = 16;  // MS1 = H, MS2 = H, MS3 = H
int revStep = 3200;

void setup() {
  // put your setup code here, to run once:
  Serial.begin(9600);
  Serial.println("test stepper motor driver");

  pinMode(pinEnable, OUTPUT);
  pinMode(pinDir, OUTPUT);
  pinMode(pinStep, OUTPUT);

  digitalWrite(pinEnable, LOW);  // enable stepper motor driver
  digitalWrite(pinDir, HIGH);  // 전방

  Serial.println(revStep);
}

void loop() {
  // put your main code here, to run repeatedly:

  digitalWrite(pinDir, HIGH);  // clockwise
  Serial.println("pinDir HIGH");

  for(i=0; i<revStep*5; i++) {
    digitalWrite(pinStep, HIGH);
    delayMicroseconds(10);
    digitalWrite(pinStep, LOW);
    delayMicroseconds(100);
  }

  digitalWrite(pinDir, LOW);  // counter-clockwise
  Serial.println("pinDir LOW");

  for(i=0; i<revStep*5; i++) {
    digitalWrite(pinStep, HIGH);
    delayMicroseconds(10);
    digitalWrite(pinStep, LOW);
    delayMicroseconds(100);
  }
}
결과
참고자료
https://howtomechatronics.com/tutorials/arduino/how-to-control-stepper-motor-with-a4988-driver-and-arduino/ - How To Control a Stepper Motor with A4988 Driver and Arduino
https://www.makerguides.com/a4988-stepper-motor-driver-arduino-tutorial/ - How to control a stepper motor with A4988 driver and Arduino
https://github.com/jieywoo/syringe-pump-project - jieywoo/syringe-pump-project
https://erik-engheim.medium.com/makeblock-orion-a-friendly-arduino-uno-alternative-22322da43f32 - Makeblock Orion, a friendly Arduino Uno Alternative
https://store.arduino.cc/products/arduino-uno-rev3/ - Arduino Uno Rev3
https://www.airspayce.com/mikem/arduino/AccelStepper/index.html - AccelStepper: libray for Arduino
'Arduino' 카테고리의 다른 글
| 3개 LED를 독립적으로 켜고 끄기 (0) | 2021.11.05 |
|---|---|
| 스케치 함수 인자 처리 결과 값 전달 (0) | 2021.11.04 |
| 아두이노로 릴레이 동작시키기 (0) | 2021.10.28 |
| 아두이노 'pinMode(switchPin, INPUT_PULLUP);' (0) | 2021.10.19 |

댓글